

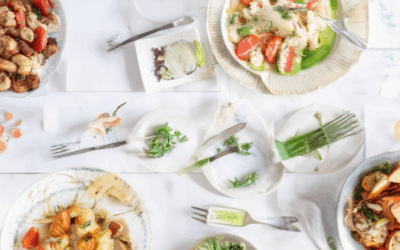
Organizing your kitchen pantry can transform your cooking experience, making meal preparation faster and less stressful. However, many homeowners struggle with keeping their pantries tidy, often leading to clutter and wasted space. Whether you’re working with a small kitchen pantry or a walk-in pantry, achieving an organized space requires thoughtful planning and efficient use of storage solutions. In this guide, we’ll explore proven strategies, including kitchen pantry organization techniques inspired by experts like Marie Kondo, to help you create a functional and aesthetically pleasing pantry. From pantry organization systems to storage containers designed for long-term usability, our tips will guide you through every step of optimizing your kitchen pantry. Discover how to group items logically, utilize vertical space effectively, and implement pantry organizers that keep your essentials within easy reach. With the right approach, your pantry can become a cornerstone of efficiency, ensuring you never again waste time searching for ingredients or tools. Let’s dive into the details and unlock the secrets to a well-organized kitchen pantry.

How to Group Items in Your Pantry
To effectively organize your pantry, follow these steps to group items logically and efficiently:
- Assess Your Space:** Begin by evaluating the layout of your pantry. Identify available shelves, corners, and vertical spaces that can be utilized.
- Categorize Similar Items:** Group items by category. Common categories include: – Snacks and Breakfast Items (e.g., cereal, granola bars, bread) – Cooking Essentials (e.g., oils, spices, baking supplies) – Cleaning Supplies (e.g., paper towels, sponges, detergents) – Personal Care Items (e.g., toothpaste, shampoo, medications)
- Label Shelves and Containers:** Label each shelf or section with the category name to quickly identify where items belong. Use clear labels for easy reference.
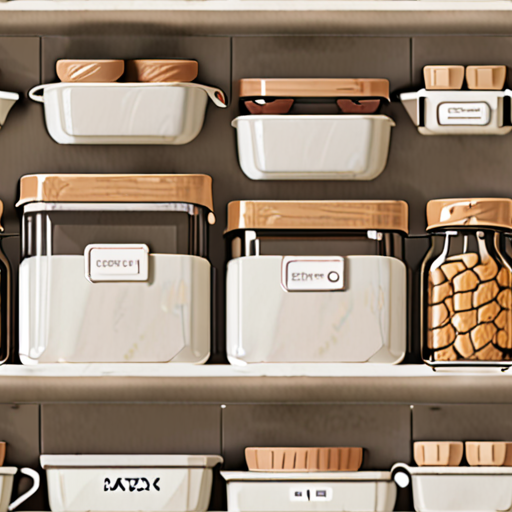
- Use Containers:** Store bulk items in airtight containers or labeled bins. Consider reusing glass jars or plastic bins for organization.
- Implement the First-In, First-Out Method:** Place frequently purchased items at the front of each shelf or container. This encourages rotation and prevents stockpiling.
- Maximize Vertical Space:** Utilize tall shelves for storing items like canned goods or jars. Stack items neatly or use smaller bins for easier access.
- Store Seasonal and Less Frequent Items:** Group seasonal items (e.g., holiday decorations) together, often in less accessible areas unless needed.
- Consider Accessibility:** Keep commonly used items at eye level or on lower shelves for easy access. Store less frequently used items higher up.
- Evaluate and Adjust Regularly:** Review your pantry setup periodically. Adjust groupings or storage methods as needed to maintain efficiency and reduce clutter.
By following these steps, you can create a well-organized pantry that enhances usability and makes meal preparation easier. Remember to stay flexible and refine your system as your needs evolve.
Best Way to Organize a Kitchen Pantry
We understand the importance of maintaining a well-organized kitchen pantry to enhance efficiency and reduce clutter. Here’s a comprehensive guide to help you achieve this:
- Start with Assessment
- Take stock of your current pantry items.
- Identify areas that feel cluttered or hard to navigate.
- Determine your needs—whether it’s meal prep, baking, or snack storage.
- Label Everything
- Use clear labels on shelves, bins, and containers.
- Categorize items by type (e.g., snacks, dry goods, canned goods).
- Consider color-coding for visual appeal and quick identification.
- Group Similar Items
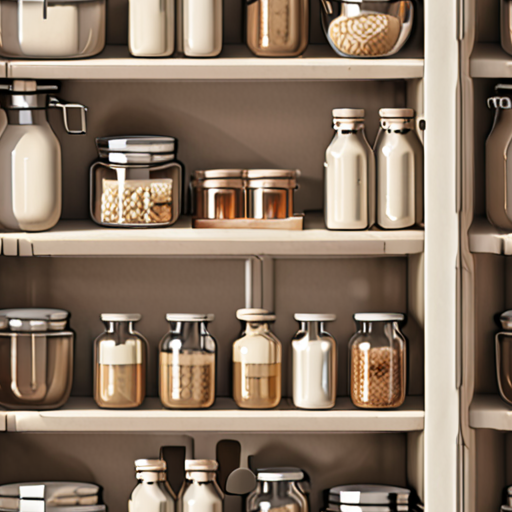
- Store grains, pasta, and rice in airtight containers.
- Keep spices and herbs fresh with labeled jars or racks.
- Organize fruits and vegetables in mesh baskets or bins.
- Utilize Vertical Space
- Install shelf brackets or drawer dividers for added storage.
- Hang pots, pans, and utensils on wall-mounted racks.
- Use tall bottles for liquids like oil and vinegar.
- Invest in Storage Solutions
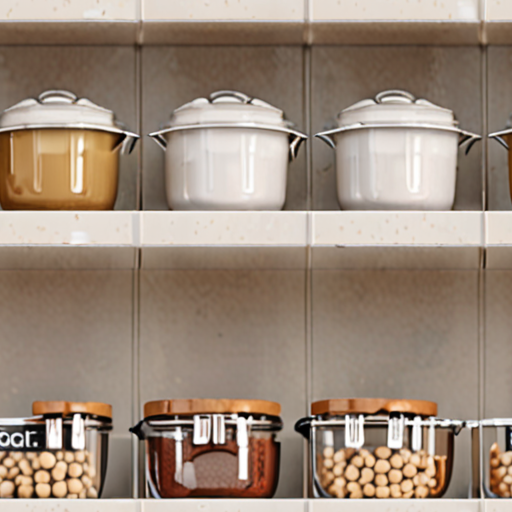
- Select airtight containers for dry goods.
- Use clear glass jars for ingredients like sugar and flour.
- Consider drawer organizers for smaller items like nuts and bolts.
- Clean Regularly
- Remove expired items and donate or throw them away.
- Wipe down surfaces to prevent dust buildup.
- Check for leaks or damage in containers.
- Stay Sustainable
- Use reusable containers instead of disposable ones.
- Buy in bulk to minimize packaging waste.
- Plan meals to reduce food waste.
- Consult Resources
- Explore our kitchen organization tips for more ideas.
- Discover our favorite storage solutions .
- Learn about meal prep essentials to streamline your routine.
How Does Marie Kondo Organize Her Pantry?
Marie Kondo, the renowned organization expert, has a unique and effective approach to pantry organization. Her method focuses on creating a space that is both functional and inspiring, allowing you to easily access what you need while keeping your kitchen clutter-free.
The Key Principles
- Categorization by Function: Marie advocates for organizing your pantry by purpose rather than location. This means grouping similar items together based on their use, such as cooking tools, baking supplies, or snacks.
- Vertical Storage: She encourages utilizing vertical spaces in your pantry for items like spices, oils, and vinegars, which don’t need constant access and benefit from being displayed neatly.
- “What Doesn’t Go in the Pantry” Rule: Marie believes certain items, like fresh produce or household chemicals, should not be stored in the pantry. These are better kept in designated areas of the kitchen or elsewhere.
Steps to Achieve Marie Kondo’s Pantry
- Declutter First: Remove everything from your pantry and sort through each item to decide what stays and what goes. Keep only what you truly need and love.
- Group by Category: Once cleared out, group similar items together. Label each category clearly, such as “Pantry Essentials,” “Baking Supplies,” or “Snacks & Treats.”
- Use the Right Containers: Marie recommends using clear, airtight containers to store dry goods, spices, and other items. This makes it easy to see what you have and grab what you need quickly.
- Arrange Vertically: Place items like jars, cans, and bottles on shelves or racks, ensuring they are neatly aligned and within easy reach. This saves floor space and keeps your pantry looking tidy.
Additional Tips
- Label Everything: Adding labels to your containers can help you identify items quickly and prevent duplicates. This is especially useful for spices and other small items.
- Consider Seasonality: Store seasonal items like holiday decorations or beach toys in the pantry until needed, freeing up other spaces year-round.
- Keep It Accessible: Place frequently used items at eye level or in easy-to-reach spots, while less accessed items can be stored higher up or on lower shelves depending on your kitchen layout.
The Benefits
By implementing Marie Kondo’s pantry organization method, you’ll enjoy several advantages:
- Easier meal planning and cooking
- Reduced waste from expired or unused items
- More space in your kitchen
- A fresh, calming environment
Remember, the goal is to create a pantry that works for you, making it simple to find what you need while keeping it organized and clutter-free. With Marie Kondo’s expert tips, your pantry will become a cornerstone of your organized life.
What are the 7 Pantry Zones?
The concept of organizing your pantry into distinct zones is a popular and effective strategy to maximize space, reduce clutter, and make meal planning easier. Below is a breakdown of the 7 key pantry zones:
- Entryway Zone : This is ideal for quick-grab items like snacks, reusable water bottles, hats, and scarves. Place a small basket or tray here for easy access.
- Dry Goods Zone : Store items like pasta, rice, quinoa, oats, and nuts in airtight containers or glass jars. Keep them on a shelf or cabinet near the kitchen door.
- Refrigerator Zone : Designate this area specifically for fresh ingredients like milk, eggs, cheese, and greens. Use drawers and shelves efficiently to minimize waste.
- Baking Supplies Zone : Create a dedicated spot for flour, sugar, chocolate chips, and spices. Keep baking tools like measuring cups and spatulas nearby.
- Canned Goods Zone : Store canned goods, soups, and beans in labeled jars or on a shelf. Group by category for easier access.
- Fruits and Vegetables Zone : Assign a bowl or crate for fresh produce. Consider using a crisper drawer in the fridge for longer-lasting items.
- Liquids Zone : Reserve a shelf or drawer for oils, vinegars, and other cooking-related liquids. Use clear containers for easy identification.
To enhance organization, consider labeling jars or bins and using dividers. Regularly check expiration dates and rotate stock to prevent spoilage. This system ensures your pantry remains tidy and functional, making meal preparation a breeze!
How to Organize a Pantry into Zones
To effectively organize your pantry, divide it into distinct zones based on functionality and frequency of use. This method ensures efficiency and reduces clutter. Here’s a step-by-step guide:
- Assess Current State: Start by evaluating your pantry’s layout and contents. Identify areas that are cluttered or difficult to access.
- Define Pantry Zones: Create zones tailored to your household’s needs. Common zones include:
- Entrance Zone: Keep frequently accessed items like snacks, drinks, and kitchen tools within arm’s reach.
- Snack and Dry Goods Zone: Store crackers, chips, nuts, and other snacks along with dry goods like pasta, rice, and flour.
- Canned Goods and Condiments Zone: Group soups, beans, and condiments together for easy access.
- Baking Supplies Zone: Store flour, sugar, chocolate chips, and baking tools in a dedicated area.
- Fruits and Vegetables Zone: Keep fresh produce in a separate basket or bin to prevent spoilage.
- Cooking Essentials Zone: Include oils, spices, garlic, and onions in a convenient spot near the stove.
- Spice Rack Zone: Organize spices alphabetically or by usage for quick access.
- Frozen Foods and Leftovers Zone: Store frozen meals and leftovers in labeled containers for meal planning.
By implementing these strategies, you’ll create a functional and enjoyable pantry space that minimizes clutter and enhances daily tasks.
What are the five key food groups?
The five key food groups according to the USDA’s MyPlate guidelines are:
- Fruits: Fruits are essential for providing vitamins, minerals, and fiber. Examples include bananas, apples, and berries.
- Vegetables: Vegetables are rich in vitamins, minerals, and antioxidants. They play a crucial role in maintaining overall health.
- Grains: Grains serve as a primary source of complex carbohydrates. Whole grains like whole wheat bread and brown rice are particularly beneficial.
- Protein Foods: Protein foods include meats, poultry, fish, beans, and legumes. They are vital for tissue repair and muscle growth.
- Dairy: Dairy products such as milk, yogurt, and cheese are excellent sources of calcium and protein, supporting bone health and muscle function.
These groups form the foundation of a balanced diet, promoting overall health and preventing chronic diseases. By incorporating these foods into your meals, you can achieve optimal nutritional balance. USDA’s MyPlateprovides further details on portion sizes and dietary recommendations.
0 Comments